Article Contents
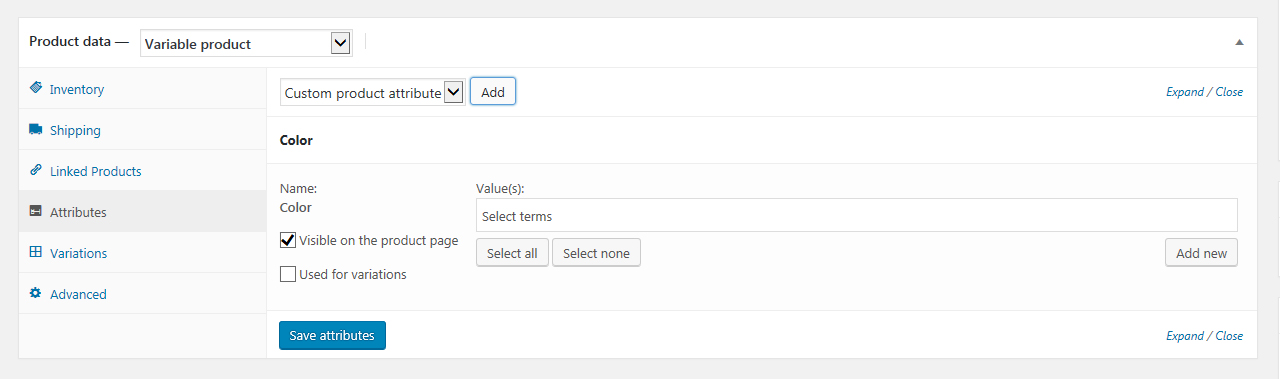
Assigning attributes to Products works the same regardless of the Product Type you’re working on; Simple, Grouped, External/Affiliate or Variable – the only difference is Variable Products will show an additional checkbox Used for Variations.
There are two ways to assign attributes to your products in WooCommerce.
The first way is to use attributes you’ve already set up. Referred to as Global Attributes once set up you can quickly use them on any product you’re working on. Try the lesson Adding Global Product Attributes in WooCommerce if you need to set these up now.
The second way is to add attributes at a product level, referred to as Custom Product Attributes these will only apply to the single product you’re working on, which can be useful if your product has unique attributes.
[note color=green title=”TIP”]If you find yourself repeating yourself when using Custom Product Attributes on different products you should look at using Global Attributes instead.[/note]
Assigning Global Attributes to Products
Edit an existing product, or add a new product, scroll down until you reach the Product Data box.
In the product data box click on the Attributes tab, next use the dropdown Custom product attribute and choose one of your previously created global attributes, select one and click the button.
Your attribute is now displayed, hovering over the name area of the attribute reveals a toggle arrow to open and close the attribute details and a link to remove the attribute.

Click in the Value(s) box to select from the terms you previously set up, or click the button to get all terms associated with that attribute. removes the attributes.
If your product needs another term that’s not already set up, then click the button. This will add a new term to the attribute.
Visible on the product page checkbox
Ticking the Visible on the product page checkbox will add the Value(s): to the Additional information tab for customers to view.
Used for variations checkbox
If you’re working on a variable product you’ll see the Used for variations checkbox. Ticking this means customers will be able to choose from the options Value(s) you set for each attribute on the product page.
Repeat this for other attributes you’re using on your product – go back up to the Custom product attribute choosing your next attribute and clicking the button.

You can toggle all Attributes open and closed by using the Expand / Close links above and below your list of attributes.
HINT
Toggle all your Attributes closed, then drag and drop them into your preferred order of display. This will affect the order of the dropdowns your customers see if you’re using the Attribute for Variations.
When you have all your attributes added click the blue button.
Assigning Custom Product Attributes to Products
Custom attributes are useful when a product needs a unique attribute that you will only use on that product.
Open up your product for editing and in the Product data box click on the Attributes tab.
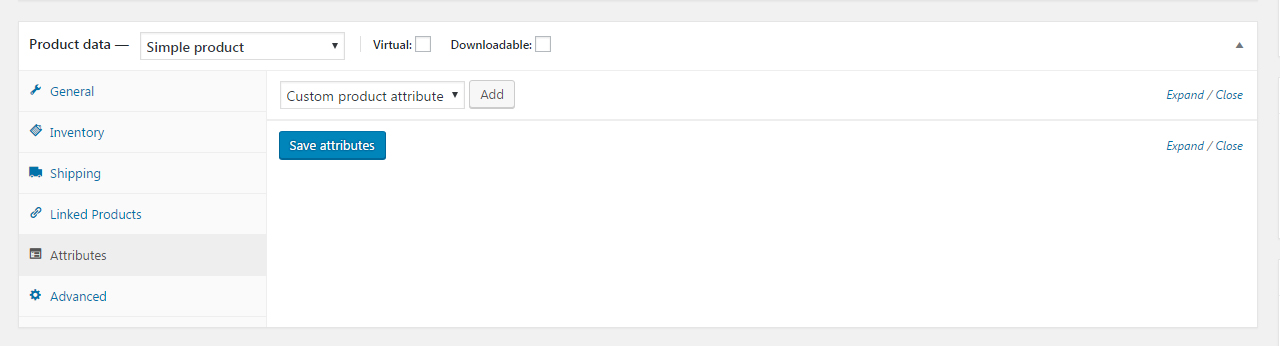
Custom product attribute should already be selected by default so go ahead and click the button.
A new blank attribute record will be added, enter name of your attribute, and in the Value(s) box type term to be used, if you’re going to assign multiple terms separate them with the ‘pipe’ Character ‘|’.

[note color=green title=HINT]
Remember you can drag and drop the attributes into your preferred order.
[/note]
When you have all your attributes added click the blue button.
Remember to go back up to the Publish box and either or